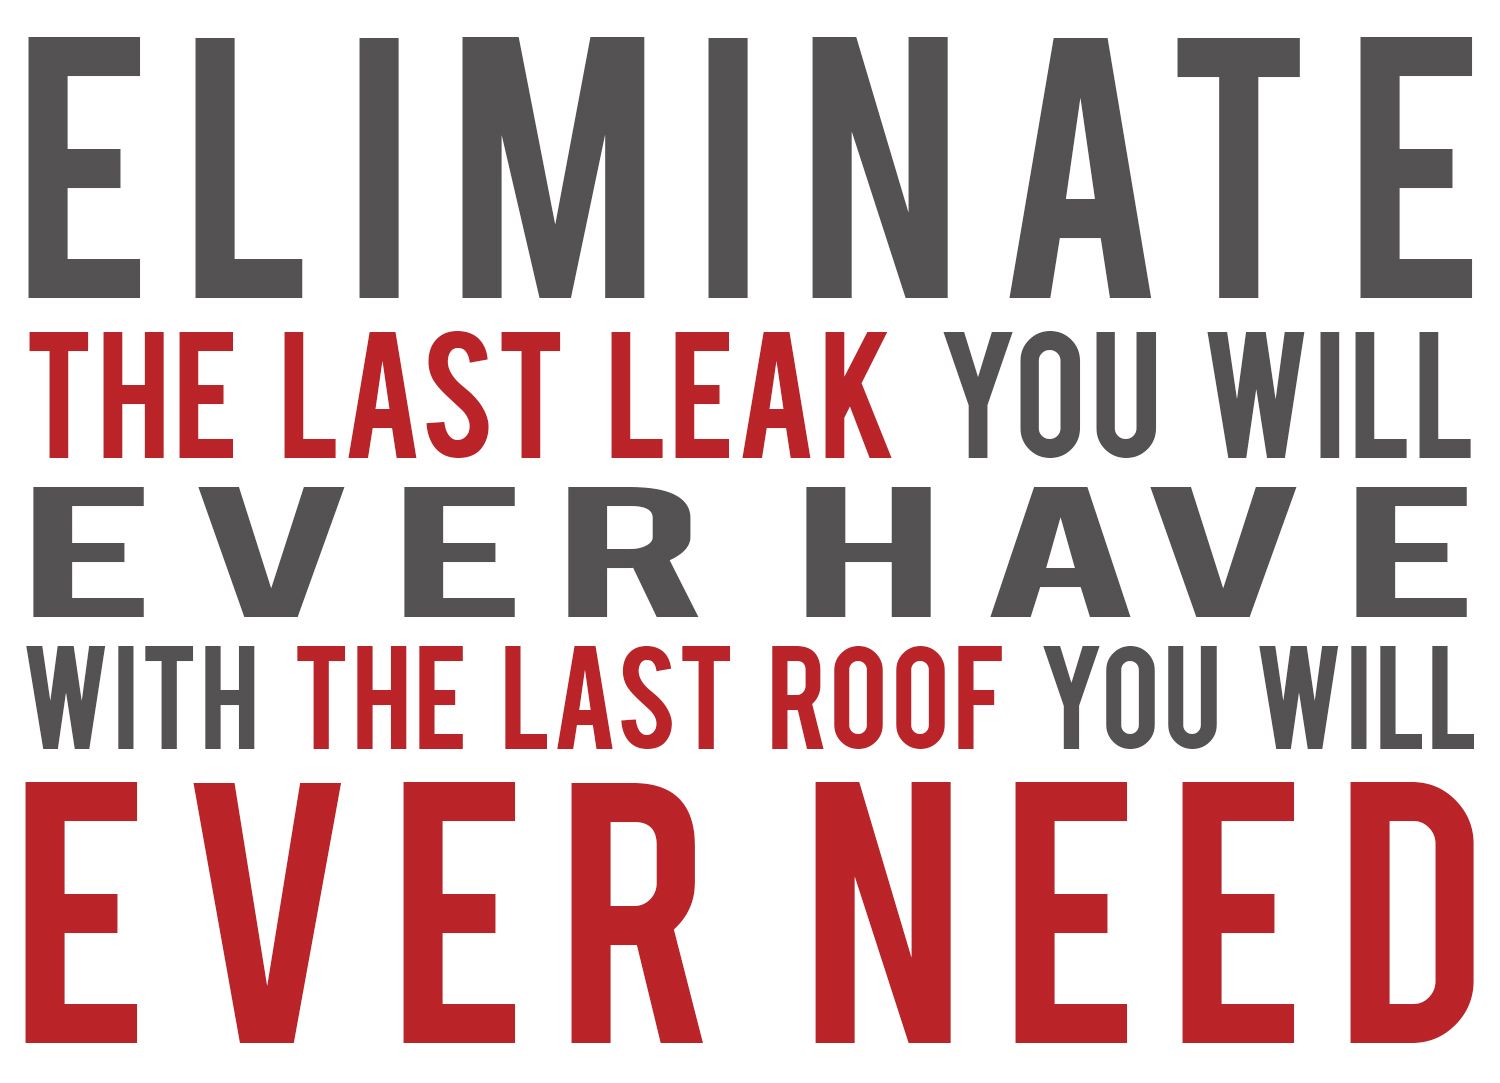
Prevention, Maintenance, & Leaks
I don't have a leak. Why should I install an RV Roofing Solutions complete system?
We get this question all the time. Many of our clients choose our system before a leak ever starts. Honestly, installing an RV Roofing Solutions Complete Roofing System on your newer RV is the best way to protect your investment. About 60% of the roofing systems we install are for clients without a leak and simply looking for a maintenance-free RV roofing system.
A mobile RV technician typically charges a minimum of $1,200.00 to $2,000.00 plus parts and supplies for this project. Mobile RV techs that charge less sometimes layer over the top of the old sealant - a process we DO NOT recommend. If you're a DIY enthusiast who hopes to tackle the project yourself, it could take as long as 16 hours to complete, plus the cost of materials.
Depending on your location, the condition of your caulking can diminish. The hotter it is, and the more exposure your RV roof has to UV rays, the faster the caulk dries out and deteriorates, and the quicker your seals fail.
Often, you'll pay for a certified RV tech to service the roof with a few "peel-and-seals" and touch up the caulk a few times yearly. Over the next ten years of traditional maintenance like this, you've likely purchased our system - TWICE.
What if there was a way you didn't have to do that anymore?
Would that be something you're interested in?
That is exactly what our system offers. It protects your RV with a monolithic, maintenance-free RV roofing system that never needs to be caulked again. This eliminates the constant maintenance, and you can simply wash your roof twice a year instead of checking it every time you move the RV.
Choose your own adventure...
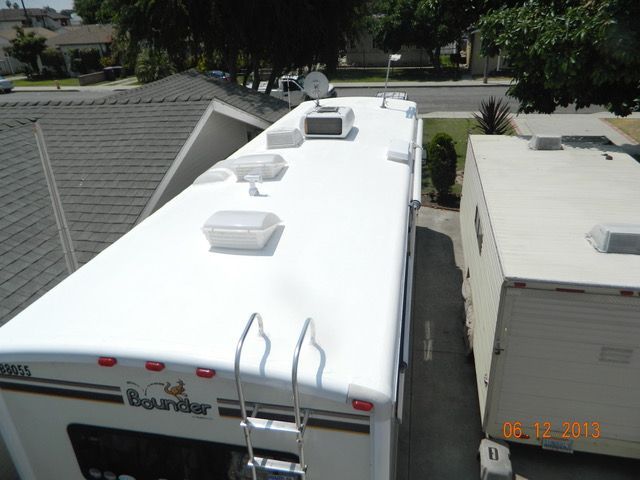
Stop a leak before one ever starts
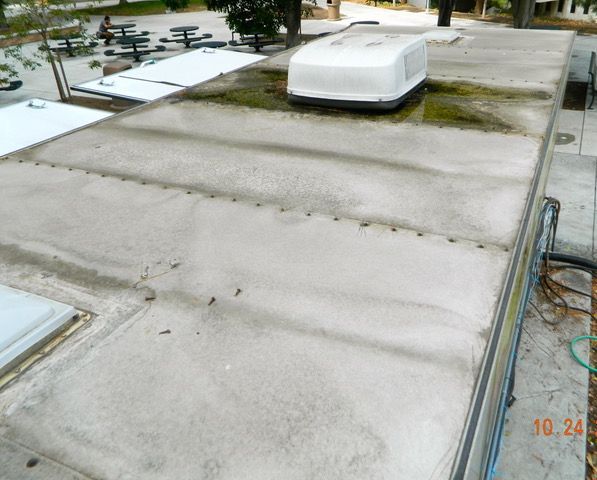
One of the most overlooked areas of RV care is the roof. Most people get overwhelmed trying to identify good seals or are unsure about the lifespan of traditional caulking, which is much shorter than the rest of the roof. Some are even afraid to walk on their RV roof. This can cause troubled areas to be overlooked and result in catastrophic damage.
That's where we come in!
Let us eliminate the guessing game by installing your RV Roofing Solutions complete system today.

The rain is on the wrong side of the roof
I have leaks. Now what?
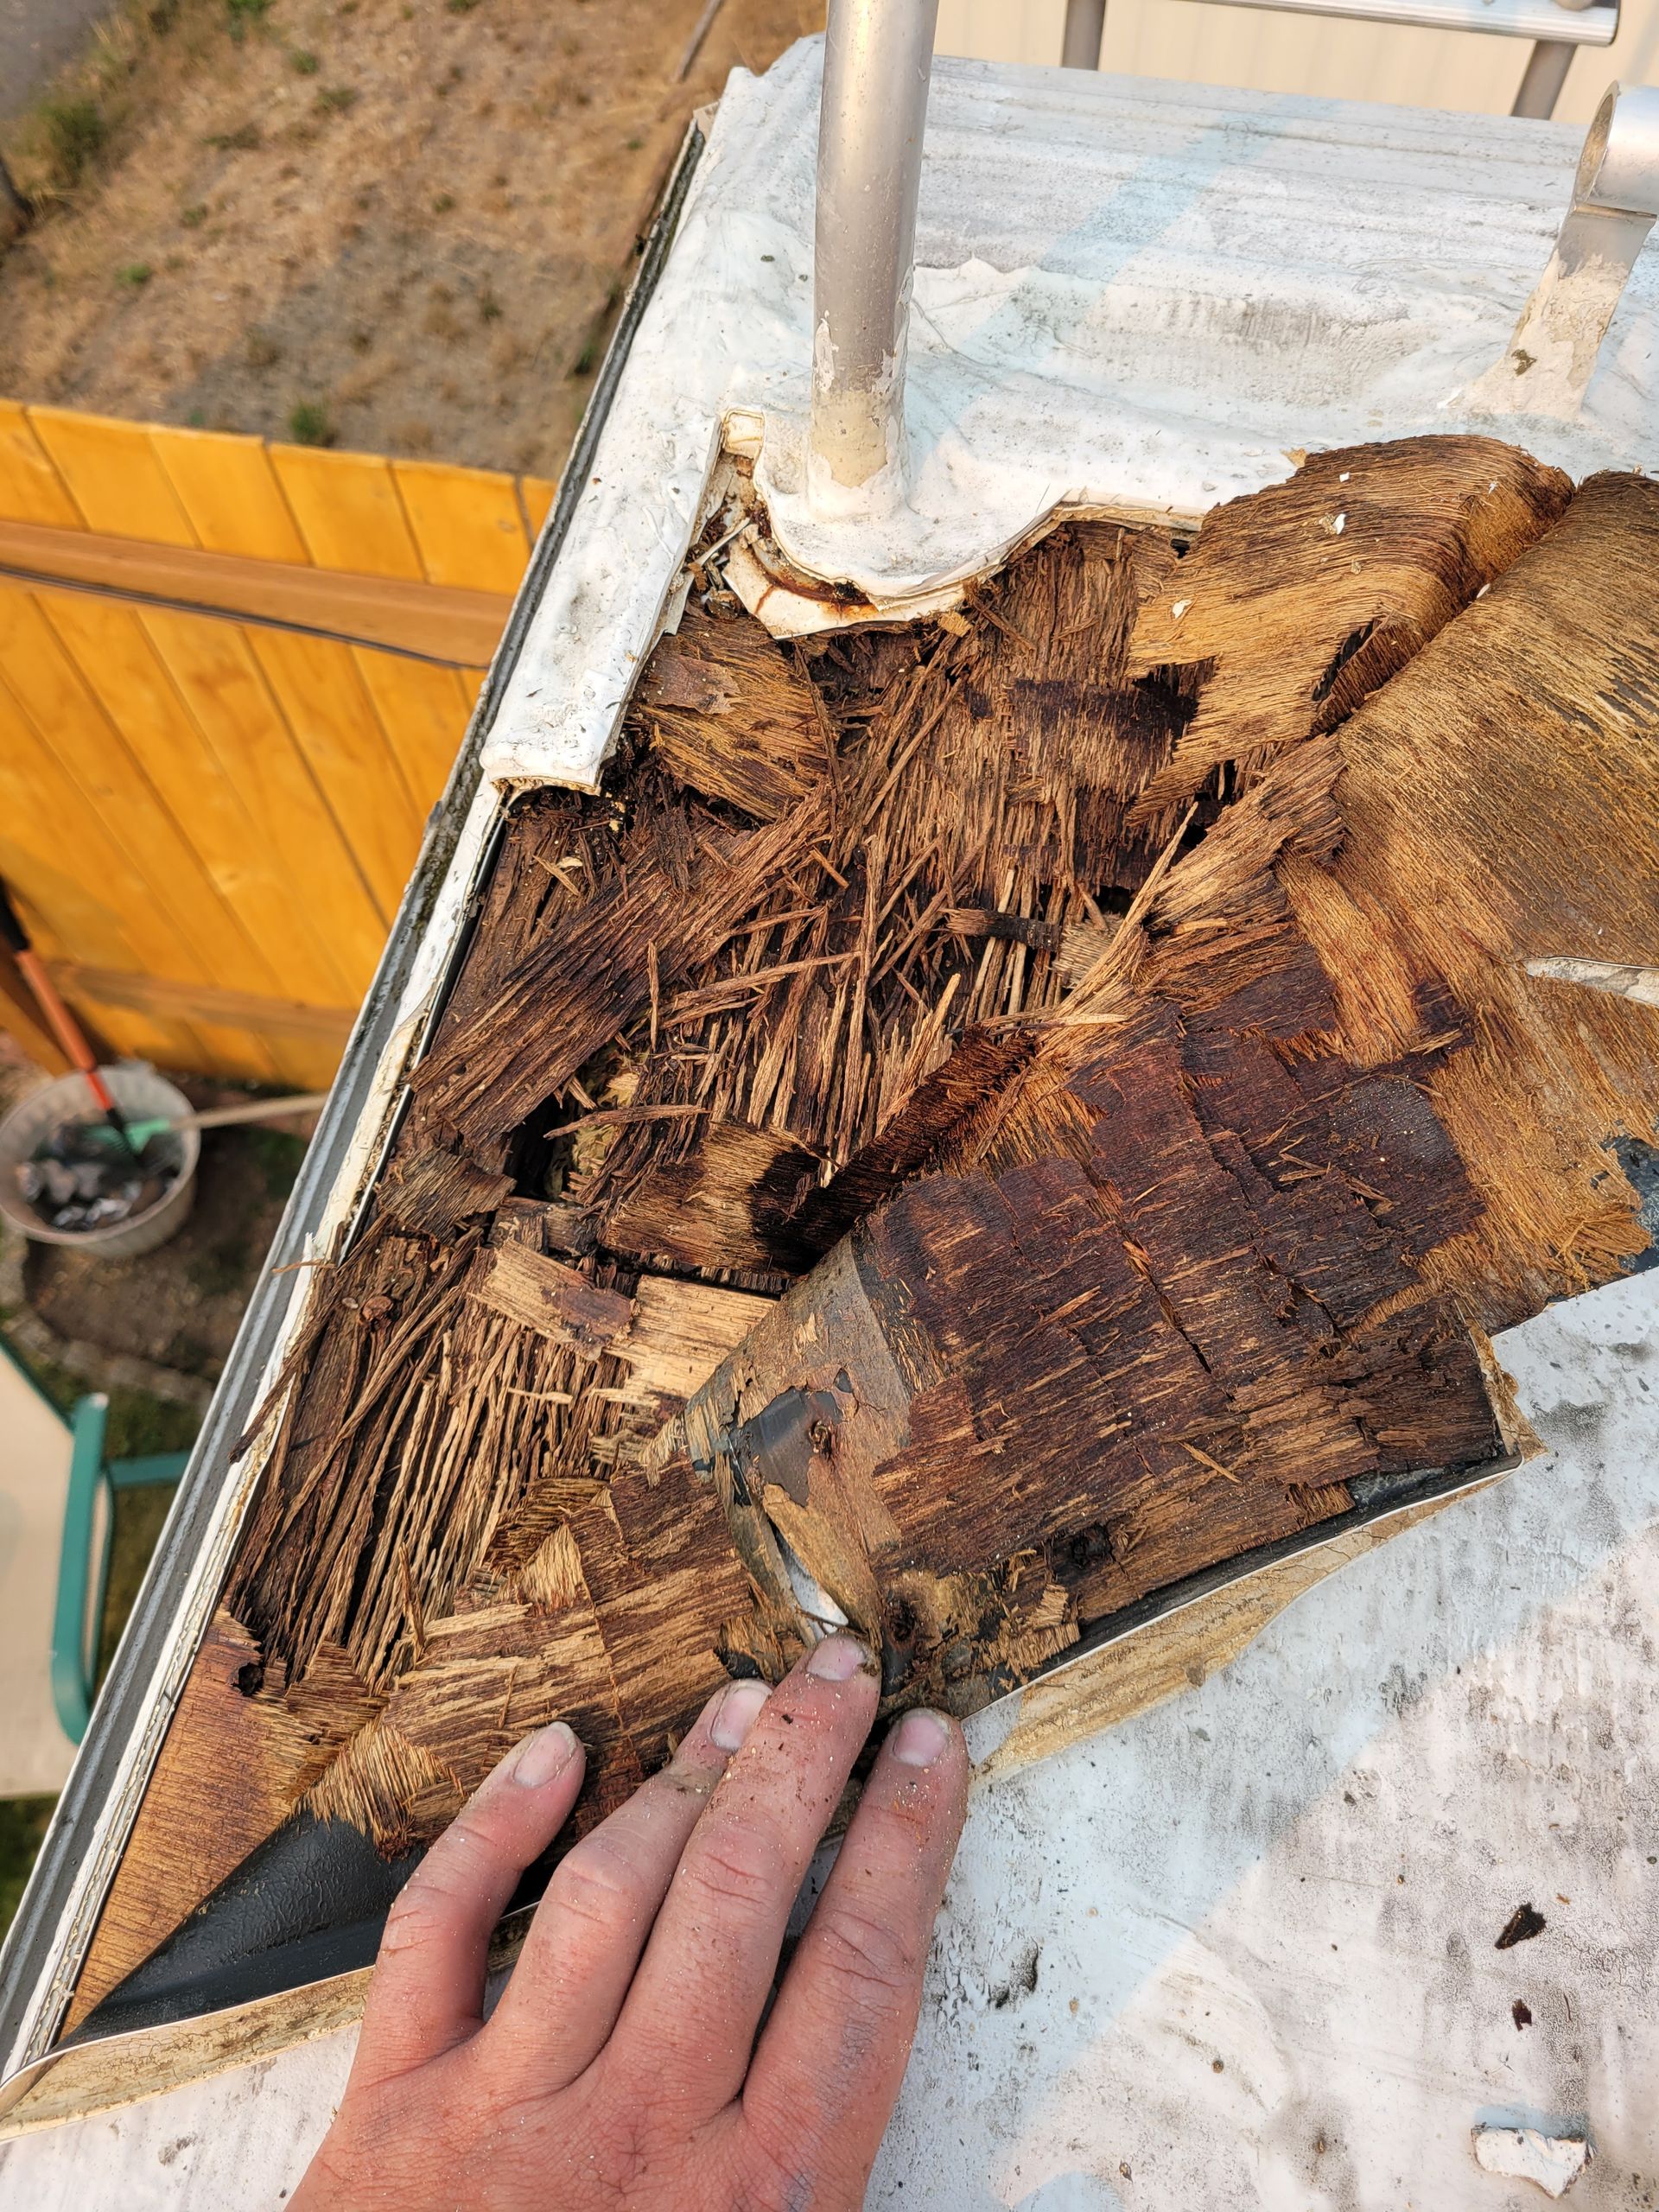
Unfortunately, not all leaks are the same. Some have clearly identifiable sources, such as a puncture from a tree branch. Other events, like a hail storm, can cause microfractures, resulting in leaks so small they're often overlooked until expensive damage is done.
Our seamless roofing system removes these challenges and gets your RV roof sealed and ready for you to continue on your adventures.
When trees attack
There are times when the unfortunate does happen, and the damage is done. Whether that is a wild tree branch, storm damage, a radius rebuild, or water damage from an unknown source, our team is here to help get your RV roof back in tip-top shape. We can replace decking and trusses and replace your existing failed membrane. This leaves you worry-free with a 10-year, no-leak guarantee.
Is your RV roof leaking?
Do you have soft or spongy RV roof decking?
You may have a pinhole leak causing long-term damage to your RV. The longer it goes unchecked, the worse the repair will become.
Does your RV roof have so many patches it looks like a tape band-aid?
Patches are short-term solutions. We've seen many patches during inspections that should have held but didn't. A patch should not be relied on as a long-term repair to an RV roof leak.
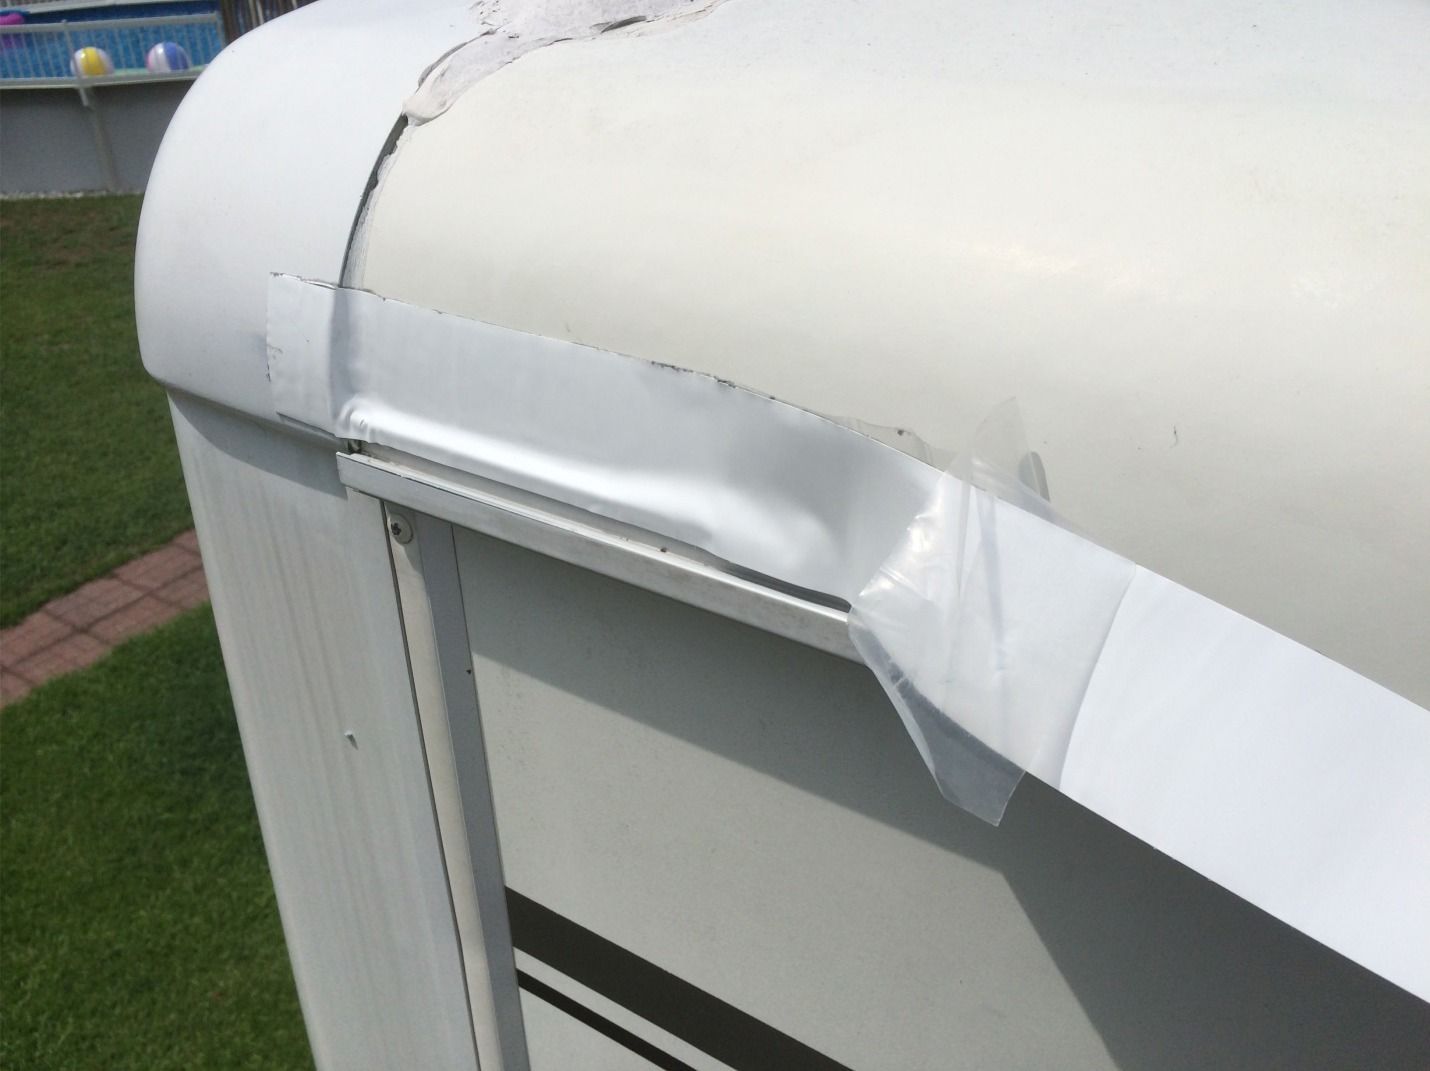
Why not just use RV roof sealant tape?
Some people are using RV roof sealant tape instead of Dicor Self-Leveling Lap Sealant under the impression that the tape provides better "forever" protection. This sounds great, but the reality is that RV sealant tape is unsuitable for most long-term RV roof applications.
RV sealant tape shrinks over time. If you're tending to anything other than a small, flat patch of roof, tape repairs lead to problems down the road - and a monster level of effort when you have to eventually replace the failing seal.
Sealant tape does not adhere well when angled 90 degrees and often gaps or separates, allowing water to intrude. Water then seeps through these weak points in the tape during a rainstorm, resulting in leak damages in roofs that are thought to be repaired.
RV sealant tape also fails under "inconsistent forces," causing air gaps under the tape and rips in the outer covering. Inconsistent forces include any bump, uneven surface, or roof angle under the tape. Natural flexing or moving of the roof under the tape - which happens by design every time an RV moves - is also an inconsistent force that causes RV sealant tape failure.
Many of our clients have tried to repair small water leaks with RV sealant tape. The initial review of the repair almost always appeared to be working - until a hard rain revealed a damaging leak.
There's no easy fix for failed RV sealant tape. Removing the tape and repairing the leak can be a costly nightmare. Just in equipment, you'll need a heat gun, trash bags, gloves, several tools, and a caustic chemical to remove the tape properly. And exposure to corrosive chemicals can be dangerous if not handled properly.
If you suspect a problem area or leak, the best solution is to have an RV roofing professional with a long-standing reputation in the RV industry repair it.
Get a Free Estimate

Your roof's lifespan
On average, an RV roof should last 10 to 20 years. After five to 10 years, you may experience leaks - sometimes sooner if you have an unfortunate experience with a low-lying tree branch. Misuse or neglect of the roof will also reduce its overall lifespan.
Insurance companies are starting to crack down on RV roof repair claims, requiring proof by receipts that your RV has been regularly serviced by a qualified RV technician, repair shop, or qualified company.
Installing an RV Roofing Solutions complete system helps alleviate any future concerns. Every roof we service comes with a 10-year material, labor, and NO-LEAK guarantee.
It's really pretty simple.
Get a professional assessment
The easiest way to start is by giving us a call. You can also submit the form on our home page, and a team member will contact you.
Whether your roof needs repairs or you're just looking for a way to protect your RV, your estimate starts here. A one-on-one consultation determines your next steps.

Approve your estimate
After speaking with our team, you'll receive a written estimate.
The next step is simple. Click approve. Sign the contract.
Once you've signed your contract, we'll invoice you for the deposit.
Getting the appointment
Once the deposit is paid, our service department coordinates the tentative dates for your RV roof installation. Lead times vary depending on weather and location.
We pair you with the installer best experienced for your roof's specific needs. Most of our technicians are NRVIA certified.

Your RV roof inspection & installation
On the day of your scheduled install, your technician does a thorough roof inspection. This includes measuring the length of the roof.
We want to make sure your phone estimate was accurate. If there are additional areas of concern, your installer notifies the home office. Nothing additional is done without written consent.
RV Roofing Solutions will need to perform all necessary repairs to ensure your roof is in good structural condition.
We come to you
We are nationwide and have installers that come to you.
Acrylic or silicone roofing systems?
In recent years, silicone coatings have been suggested as an affordable DIY alternative for RV roof applications.
This DIY silicone coating looked great when completed - but looks can be deceiving.
Recently, we had to remove an entire silicone aftermarket roof coating. The client showed us the product he used. When we created the estimate, he already knew the wood at the front of the RV was soft and spongy, and something had gone terribly wrong underneath the pristine silicone coating. We estimated three sheets of wood.
We're not fans of silicone. The only place in our RV where we use silicone sealant is indoors in the shower, just like in a sticks-and-bricks house. A big problem with silicone is that virtually nothing sticks to it. Not paint. Not any other sealant or adhesive. Even after removing silicone, the remaining residue prevents any other material from adhering, so a complete tear-off is necessary. Once you use silicone, you're stuck with it, or it becomes a pretty expensive and extensive repair.
The problem is that RVs move, shift, and vibrate, and silicone dries down to a fairly stiff consistency. It just isn't pliable enough for most RV applications. Silicone coatings are generally strong enough to avoid cracking and look GREAT! But, your RV's normal movement and vibration can cause it to separate from the roof's surface. Since the silicone itself isn't likely to crack, that surface separation usually goes undetected until a leak occurs. And that is exactly what happened.
The separation trapped the existing water between the silicone layer and the decking, causing extensive damage to many sheets of the existing wood.
When the installer arrived, they tore off the silicone membrane. As the installer removed the damaged wood decking, the membrane peeled back to expose even more compromised wood - another four sheets of decking. The customer chose to replace the last two sheets of OSB with the same cabinet-grade decking we were installing.
We always treat your RV roof like our own - with quality products.


Contact Us
RV Roofing Solutions complete roofing system can be installed on just about any type of RV.
It's hard to run a successful business without a good roof. A few years ago, Juice it up contacted us to restore their roof.
As you can see, they've been back out doing what they love without worrying about their roof since.


Our installers are mobile and come to you.
Get an estimate today!
Home Office Location
Acton, CA
sales@rvroofingsolutions.com
Call 888-847-7010
760-362-32423242
The leading, nationwide, professional RV Roofing Solutions complete roofing system and RV roof repairs.
Navigation